The MSI all-in-one liquid coolers series is quite extensive; it ranges from entry-level coolers to monsters equipped with LCDs. In this review, we are focusing on the MSI MAG CORELIQUID A12 240, which, despite being at the lower end of the spectrum, still offers a valid option for low and mid-range systems that do not require the cooling capacity of a 360mm AIO. With a bit of ARGB lighting added, you get an affordable CPU cooler backed by an experienced brand.
Special thanks to MSI for providing the MAG CORELIQUID A12 240 review sample!
MSI MAG CORELIQUID A12 240 Specifications
MSI MAG CORELIQUID A12 240 Packaging
Similar to the MSI coolers we reviewed before, the MAG CORELIQUID A12 240 comes in a dark box featuring full images of the 240mm cooler on the front and showcasing the ARGB lighting.
On the back, there is a close-up image of the pump housing, several feature highlights, and helpful text for those making a purchase decision in a retail environment.
The cooler is held in place with a simple molded cardboard tray, and the components are protected from surface damage by plastic packaging.
Accessories Included with MSI MAG CORELIQUID A12 240
Along with the MAG CORELIQUID A12 240, there is a set of mounting components for modern AMD and Intel platforms, as well as several organizers and marketing materials. This hardware package includes mounting brackets, fan screws, and a tube of thermal paste. There is no assembly guide included in the box; you will need to be online to access this material. In fact, you will need to scan the QR code on the box, as there is no link to the assembly guide on MSI's product page for the A12 240; only chemical safety documents are available, which no one wants to read.
MSI MAG CORELIQUID A12 240 Overview
Available in 240mm and 360mm sizes, these coolers are offered in a single black color option. The A12 240 has a quite standard entry-level AIO appearance right out of the box. For cooling tasks, it features two 9-blade 120mm ARGB fans attached to a 27mm thick 240mm radiator, along with a pump housing that has a circular design.
The first component in our overview is the 240mm aluminum radiator. This radiator has a very simple design, coated with black paint and featuring a small MSI logo on both sides. The 27mm thickness is compatible with the standard size we see in most AIOs. The 120mm PWM fans, with 21 thin rivets each, are a mystery regarding their ability to exceed this thin density, but the testing process will determine that.
The nylon braided EPDM cooling lines exit from one end of the radiator's end cap and connect to the radiator with bent fittings. These lines are quite flexible and long enough for installation in a mid-tower case, but I can say that our lines appear to be a bit twisted; despite trying different connection positions.
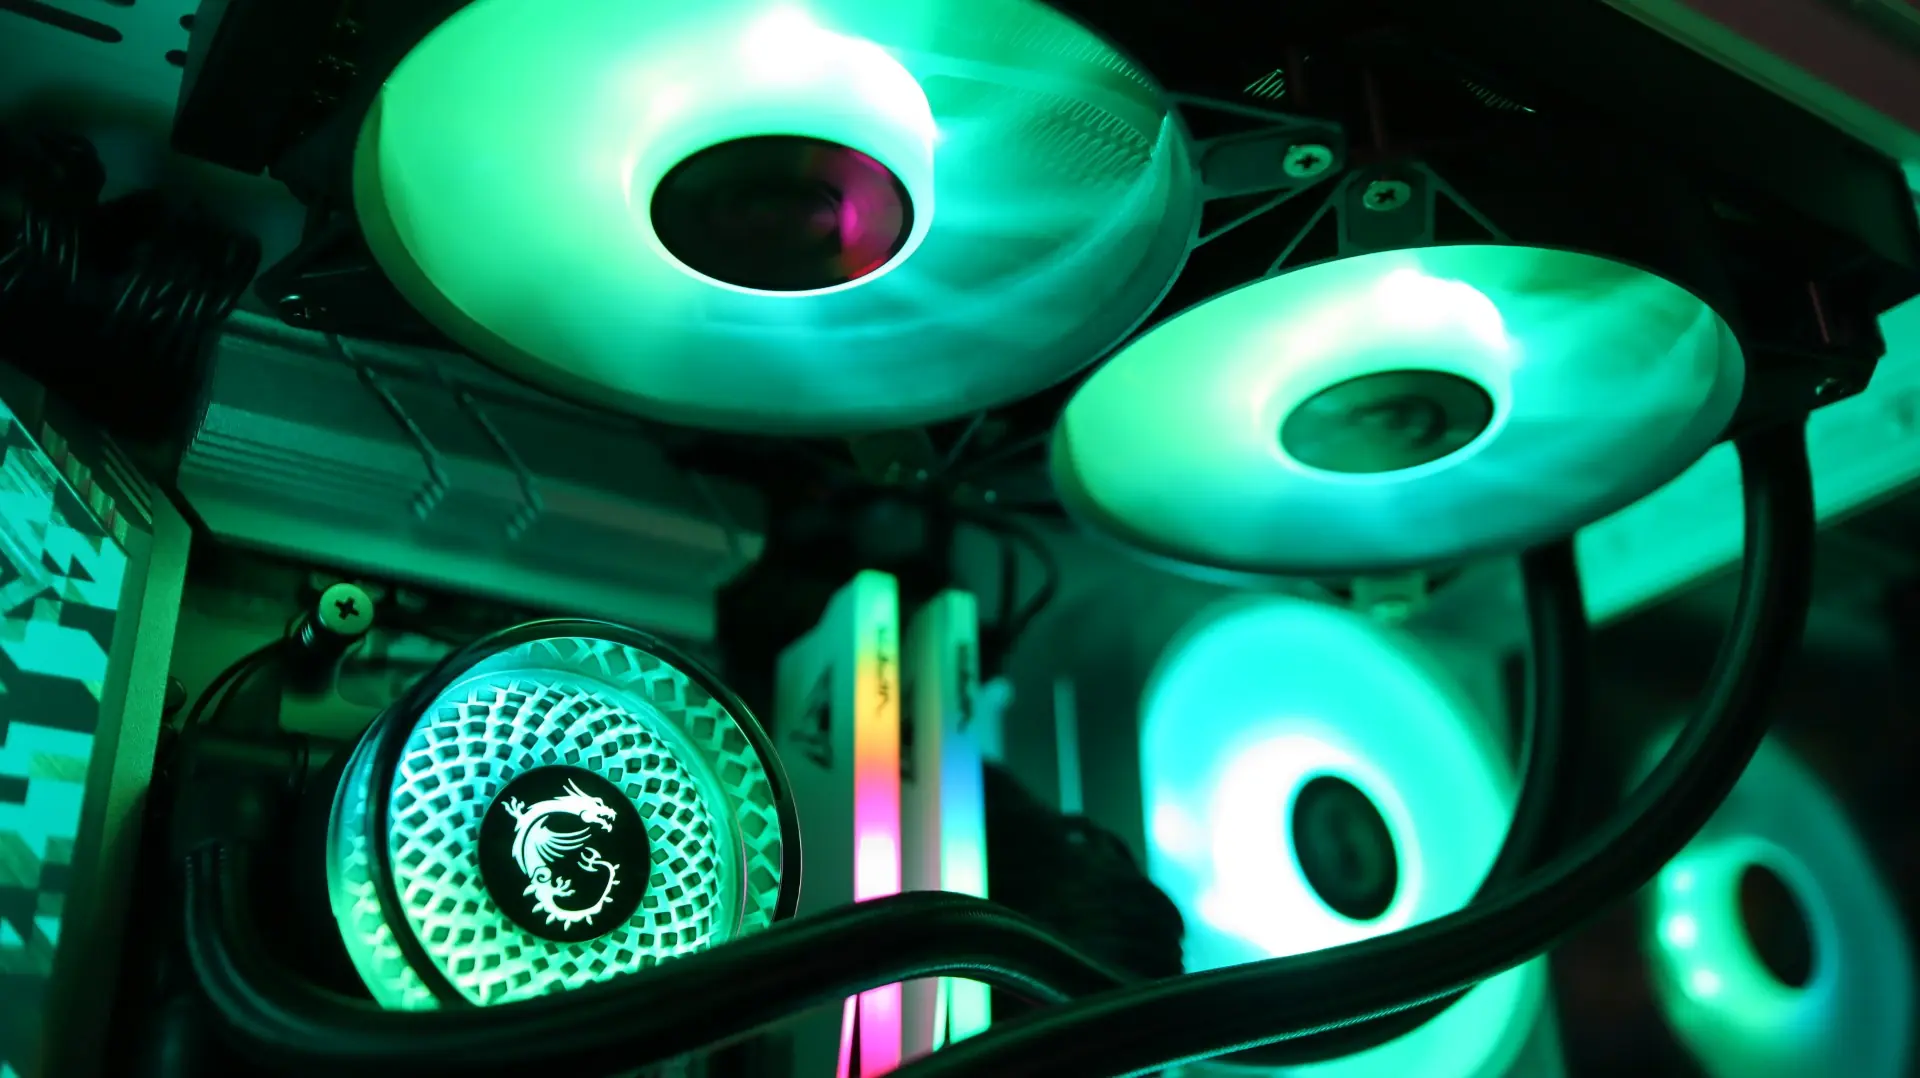
Moving on to the pump housing, we encounter a rather basic design. The cylindrical body is quite simple, with a transparent top cover and an MSI dragon logo illuminated by ARGB LEDs underneath, along with radial design work.
This transparent top cover sits slightly above the upper part of the pump housing and provides the opportunity to see the lighting area not only directly but also at an angle. Additionally, this top cover can be rotated in 90-degree increments, allowing for proper alignment for various mounting needs.
Moving to the sides, we encounter two cooling lines coming out from the bottom of the pump housing. Each line is paired with a rotating connection that makes installation and fitting much easier than fixed connections. The pump offers a working speed of up to 3100 RPM, and the average noise level is only 15 dBA.
The other sides of the pump housing lack any features, presenting a smooth surface that enhances the basic appearance of the housing. There is a 3-pin power cable and a 3-pin ARGB cable coming out from the pump housing for pump and LED control, respectively.
Looking at the base of the cooler, we find a large copper base that does not contain pre-applied thermal material. MSI provides a small syringe of thermal paste for mounting needs. Although not visible, there are small channels on the sides that allow for the sliding of AMD and Intel mounting hardware onto the pump housing.
MSI has provided two 120mm ARGB fans, which deliver 94.65 CFM of airflow at full speed of 2,200 RPM. MSI does not provide any specifications regarding static pressure, which is quite an important specification when considering the airflow capabilities in a restrictive area like a radiator's thin fin array.
The rubber feet at the corners help to isolate vibrations that may come from the nine fan blades, which is always a nice feature. The use of nine blades is generally associated with high airflow fan design, providing good compatibility with very high maximum values of 94.65 CFM. There are no connection rings on the outer edges of these fans; this generally helps to direct all airflow along the radiator and prevents it from escaping from the edges of the blades.
MSI has not factory-mounted these fans to the radiator, so the installation is up to the customer. These fans also do not offer power daisy chaining support, so a 2-to-1 adapter is used to connect two fans together and use a single 4-pin PWM motherboard header. Fortunately, the ARGB cables connected to the fans can also daisy chain and can be combined with the ARGB cable coming from the pump housing. All of this means a reasonable amount of cabling needs to be tidied up if you want to keep your system looking neat.
MSI MAG CORELIQUID A12 240 Installation
Like most AIOs, the installation of the MSI MAG CORELIQUID A12 240 is quite a simple process. As DIY PC building becomes more popular, the AIO liquid coolers option will certainly be impressive to attract those looking to make a more advanced setup, and easy installation is an important factor to avoid scaring first-time builders. As I added, MSI has provided all the necessary mounting hardware for modern AMD and Intel platforms, but has preferred a digital installation guide. We are seeing more companies transition to digital versions of their product manuals, and while I appreciate that they reduce waste, I prefer a physical copy of the installation instructions. This is especially true for this cooler; as there is no installation guide on the product page, you need to scan the QR code located on the outer cover of the box.
Our tests required us to align and mount our fans to the radiator using the included fan screws, as the fans were configured for push.
As I mentioned earlier, the MAG CORELIQUID A12 240 does not come with any mounting hardware from the factory, so I first had to install the AMD mounting hardware onto the pump housing for my Ryzen 7 7600X test system. This is a simple process that requires the sliding of a bracket instead of a flat one. The MAG CORELIQUID A12 240 does not use factory AMD mounting clips to secure the cooler to the motherboard, so I had to remove the plastic mounting brackets to secure the cooler to the motherboard.
The next step is to install standoffs into the mounting points on the motherboard's backplate so that the included spring screws can hold the cooler properly.
Once the mounting hardware is in place and thermal paste is applied to the CPU, it’s time to align the cooler with the brackets and tighten everything. The use of four spring screws makes this mounting process quite simple. The next step is to attach the radiator to the top of our case. Using the included eight screws, align with the appropriate mounting points and tighten.
Once all the hardware is in place and the cabling is complete, it’s time for testing.
Gallery
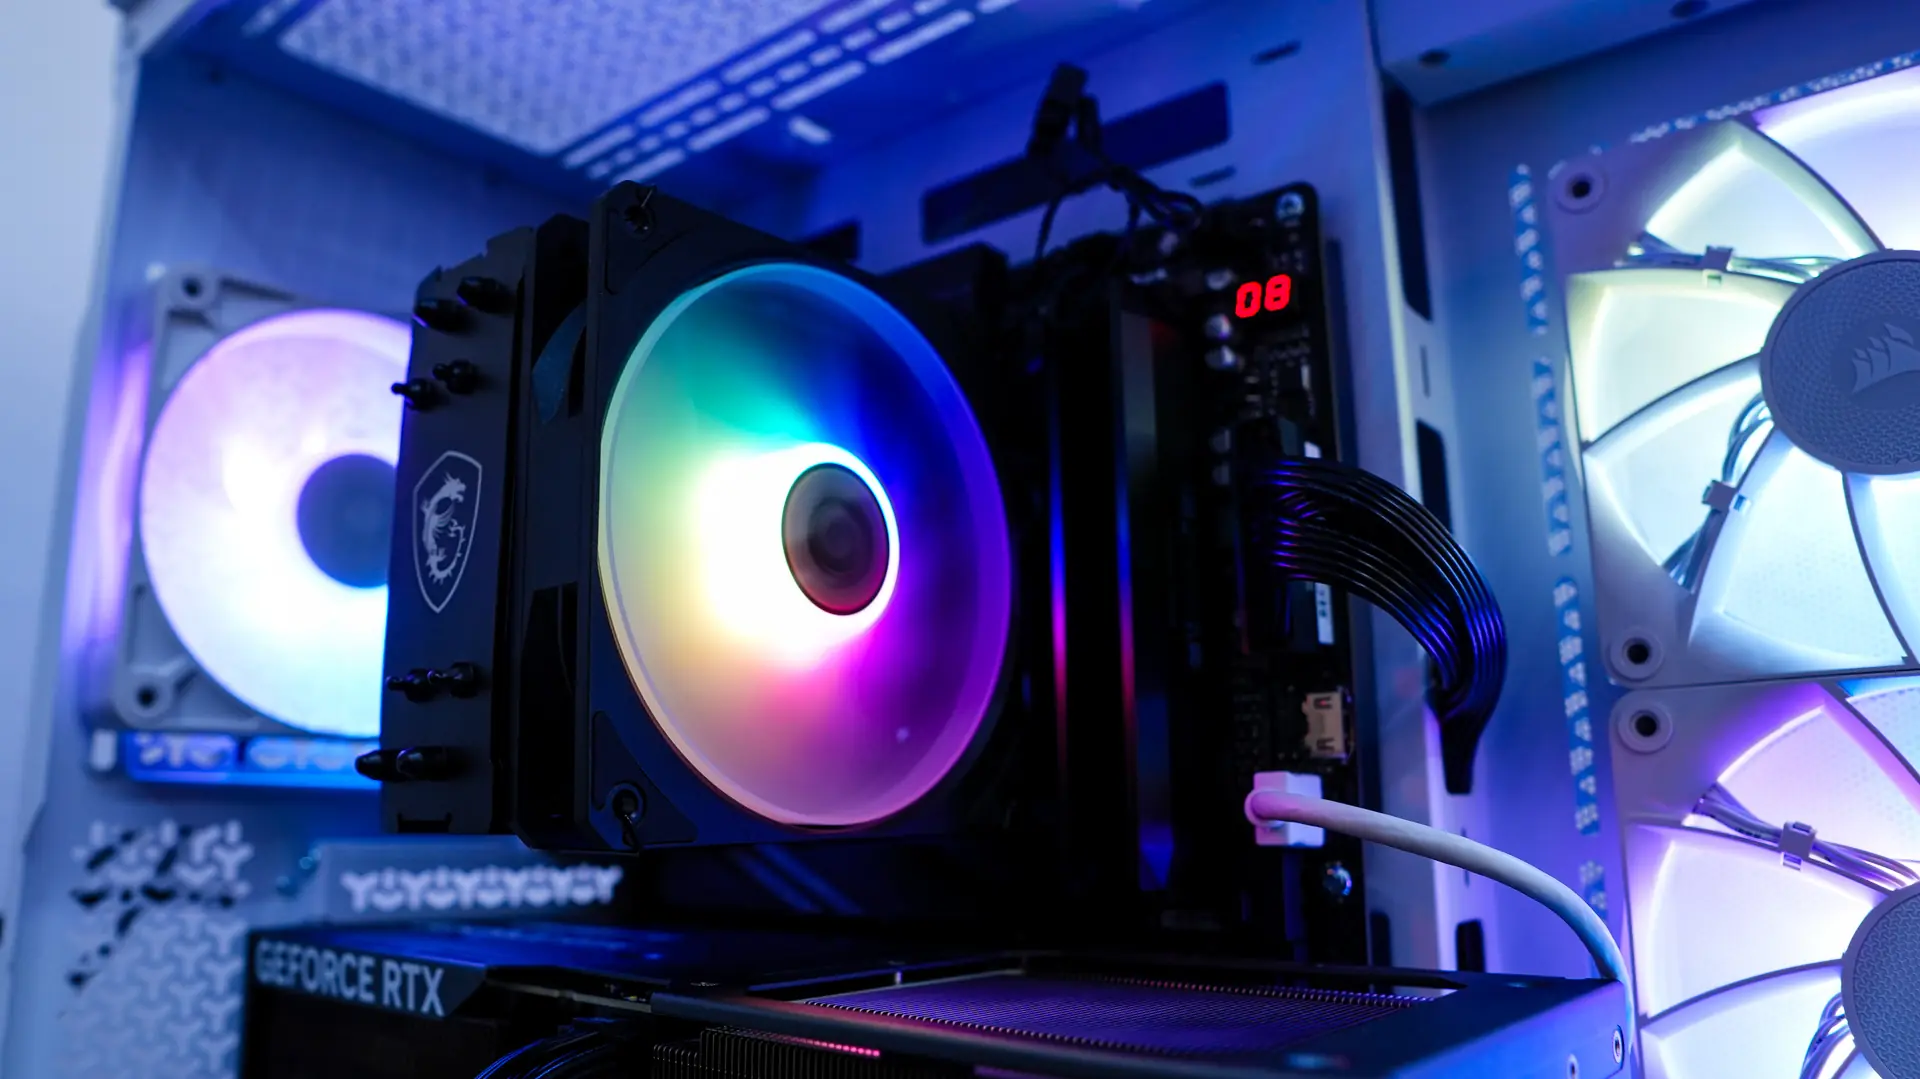
Here are some images of the MAG CORELIQUID A12 240 in Action
MSI MAG CORELIQUID A12 240 Test
With the transition to a new test bench setup, it’s time to update the component list below. We are also trying a new test set that includes monitoring the system both at idle and under load; this is done to determine fan speed levels and to see how fan speed and associated noise affect the cooler's performance.
The components below are used in our AIO cooling test.
CPU: AMD Ryzen 7 7600X
Cooling: MSI MAG CORELIQUID A12 240
Motherboard: ASRock B650 Steel Legend WiFi
Graphics Card: PowerColor Red Devil Radeon RX 580
RAM: Patriot Viper Gaming Elite 5 DDR5 6400MT/s 48GB
Storage: Patriot Viper VP4300 Gen4 PCIe NVMe 1TB SSD
Case: Lian Li Vector V100
Power: EVGA G5 750W
List of compared coolers:
– MSI MAG CORELIQUID A12 240
– ASRock Steel Legend 360 LCD
– MSI MAG CORELIQUID A13 360
– TRYX Stage
– ASRock Phantom Gaming 360 LCD
– levelplay CL 360 HUD
– MSI MPG CORELIQUID P13
Please note: As we continue to test additional AIOs on this new test bench, this table will be updated to show comparisons with additional coolers.
For performance testing, we will first test idle temperatures. These are taken on the Windows 11 desktop one hour after the system is powered on.
Idle
AIDA64 Load (CPU Only)
AIDA64 Load (CPU & FPU)
In addition to temperature readings at different fan speeds, we are now also adding noise output readings. This is important information that can help you find a nice balance between performance and noise output for your system.
Noise Output
Final Thoughts on MSI MAG CORELIQUID A12 240
Entry-level is a term I can use to best describe the MSI MAG CORELIQUID A12 240. While it may not offer flashy LCD screens, VRM cooling fans, or complex software that allows you to fine-tune every aspect, you still get some decent ARGB lighting and surprisingly good performance compared to the 360mm AIOs this cooler competes with. Although the smaller radiator and lack of a fan may prevent this cooler from climbing higher in the chart, it is worth noting that there is not a significant performance difference between this smaller cooler and the larger ones. Even under load, the MSI MAG CORELIQUID A12 240 was completely adequate in cooling our CPU.
Where the MSI MAG CORELIQUID A12 240 falls short is in some comfort features that we see in many higher-priced AIOs in today's market. The 120mm ARGB fans do not offer PWM daisy chaining support (but do provide ARGB connections), which creates the need for a 2-to-1 adapter to use a single motherboard header and results in excessive cabling. Additionally, the fans are not pre-mounted on the radiator. While this is a fairly simple process, we have been spoiled by all the pre-mounted fans we encounter in other AIOs. The fans do produce quite a bit of noise, but this is expected given that airflow values are above average.
I can't criticize the MSI MAG CORELIQUID A12 240 for its performance compared to a cooler group filled with additional 120mm radiator space and an extra fan; however, it doesn't need to. It performs quite well in the range of 360mm coolers, which is quite commendable. Considering that this cooler will likely only fit in a smaller case that has room for a 240mm AIO, this may yield slightly different performance results compared to our test system. Of course, every setup will be a bit different, but it should be noted that proper component sizing should be considered in every setup.
With a budget-friendly price of $69.93 at our favorite online retailer, the MSI MAG CORELIQUID A12 240 seems like a great option for smaller setups that do not want to compromise on performance; it does forgo some comfort features offered by many modern AIOs. The MSI MAG CORELIQUID A12 240 scores 8 out of 10.
Pros:
- Idle and Load Performance Compared to 360mm Coolers
- ARGB Lighting
- Budget-Friendly Pricing
Cons:
- Fans Not Factory Installed
- Fans Not Daisy Chained
- High Noise Level
- No Manual and Not Available on Product Page


Comments
(2 Comments)